

One of the things we love most about wet shaving is how connected it can make us feel to the past. Men have been shaving with safety razors for over 100 years. It’s likely that most of our dads, granddads, and great granddads learned to shave on something very similar to these designs.
And as exciting as getting the latest and most innovative razor can be (and they really are changing the game – take a look at the Rockwell), for some guys there’s just nothing like a vintage. Finding an old razor at a garage sale, flea market, or even in your own basement, is an exciting chance to put some blood, sweat, and tears into your daily shaver.
A lot of old razor designs will offer an excellent shave, and there’s a reason why these items are hotly sought after nowadays, but if you happen to get your hands on one, you’ll want to make sure you clean and prepare it the right way. If you don’t, you might just ruin that vintage object and end your restoration project before it’s even begun.
Step 1: Boil the Razor
Boiling achieves two things. First of all, it sanitizes the razor, which might be particularly important if you don’t know the previous owner. Boiling also helps soften any hardened soap residue or other gunk inside the mechanism. This is especially important on old Gillette butterfly razors.
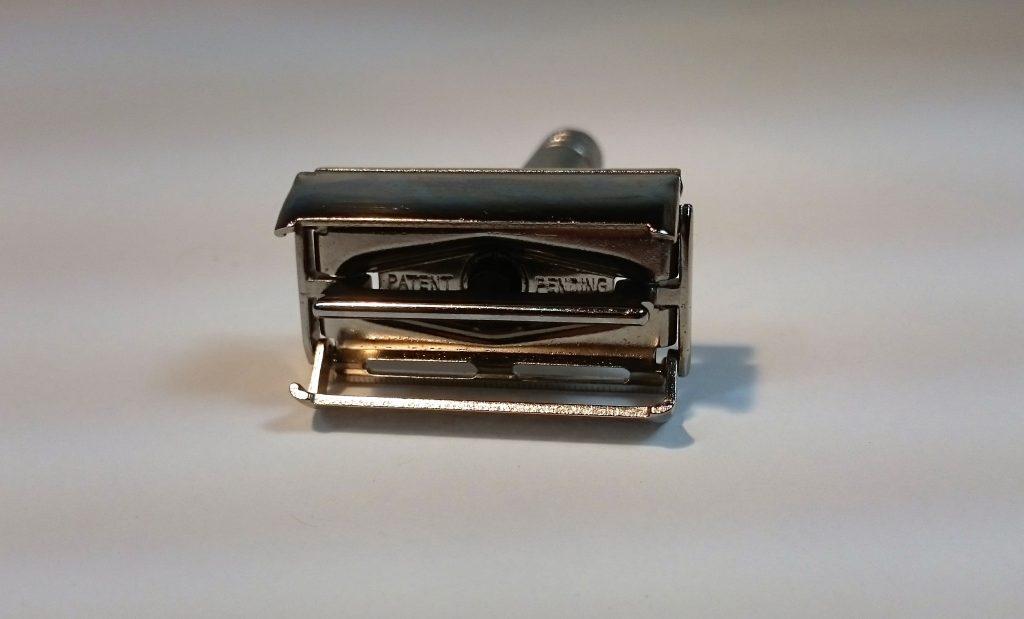
If the razor is a butterfly, open it up. Begin by holding the razor head-down and place it gently into your container of boiling water. Dip it into the water, and let any caked on residue drip down and out of your razor.
Note: Do not use vinegar. Some people recommend this because it will clean the razor extremely well, but it can turn the razor pink or lead to other discoloration.
Step 2: Remove any remaining residue
Take the razor out of the boiling water, and let it cool. Shake it to remove the excess water and built up residue, and then manually clean the razor as much as possible. If it’s a butterfly, open and close the razor several times, removing any clogs. Add some mineral oil inside the butterfly mechanisms, to help keep them loose and effective.
Note: Use an old pot you don’t use for cooking anymore. You probably won’t want to make soup in it afterward.
Step 3: Rinse and repeat
Some old razors have a significant buildup of stuff you don’t even want to identify. It has probably been there for literally decades, and you want to make sure that you get it all before you start using the razor.
Step 4: Soak in Oil
Once the razor is completely clean, submerge it in mineral oil and let it soak for a few days. You can go back and take a peek, but otherwise, let the razor rest. Use this time to grow out your mustache!
Step 5: Final Clean and Polish
At this stage, your razor should be almost ready to go. Clean it off with some soap and hot water. Use a (used) toothbrush to remove any final, stubborn spots of stuck on dirt and grime.
If you notice that the razor has any rust spots, and this isn’t uncommon in older models, you can remove them with a Dremel tool. However, be very gentle with the Dremel. It can be tempting to go whole-hog, but it’s a delicate art and you can’t push too hard. Most razors have a nickel or chrome coating that isn’t very thick, and overzealous polishing and buffing can wear through the coating and damage the razor.
Note: At this stage, you can apply a polishing compound to make your new-again razor look bright and shiny, but it isn’t something we recommend – that’s because these polishing pastes can be full of chemicals, and we prefer to keep things like that away from our freshly shaved faces. We prefer leaving the razor in mineral oil, which often does much the same thing.
Step 6: Dunk and Go
This is the last step! You’re almost there. Take your razor, and submerge it in a Barbicide solution. That’s the blue liquid you normally see at barbershops, and you can get it at any barbershop supply store. Your barber keeps his combs and scissor in there, and it’s great for disinfecting things. This will make extra sure that your razor is healthy, clean, and ready to be up close and personal with your face.
Leave the razor submerged in the Barbicide for a few hours, and then take it out and rinse it off carefully.
The End Result
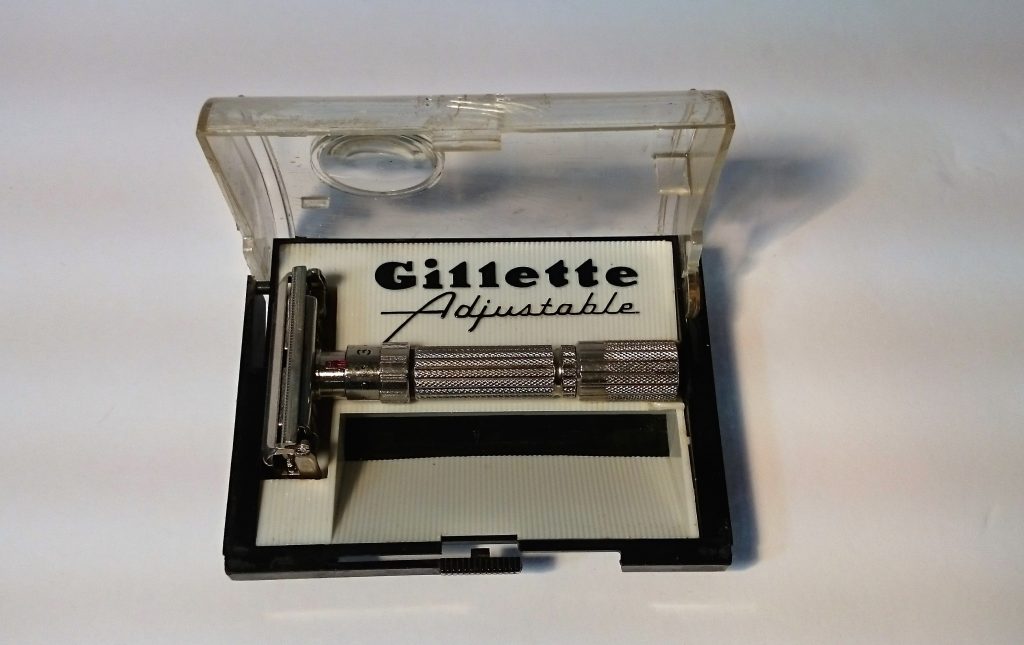
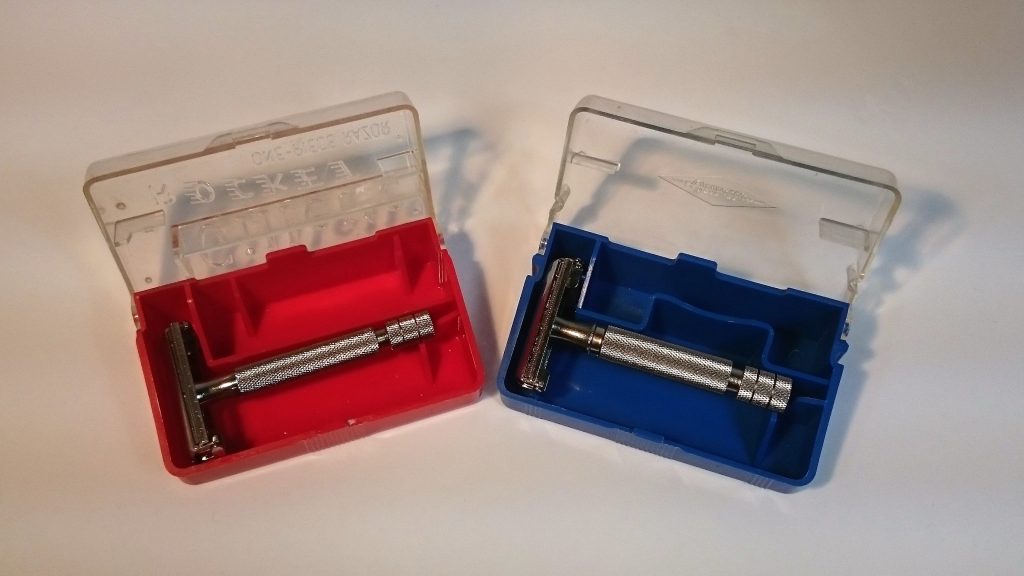
We didn’t get a chance to take photos of our process, but here are a handful of vintage razors we restored this weekend.
That’s it! Your vintage razor is now ready to be used and enjoyed once again. If you do get a chance to clean off and restore a vintage razor, it can be a tremendously satisfying activity, and the item you have in your bathroom will carry a proud and unique legacy with it. Enjoy, and don’t forget to share your pictures with us!


The Gillette Adjustable in its box is lovely. Are you restoring it for somebody? Might it be for sale?